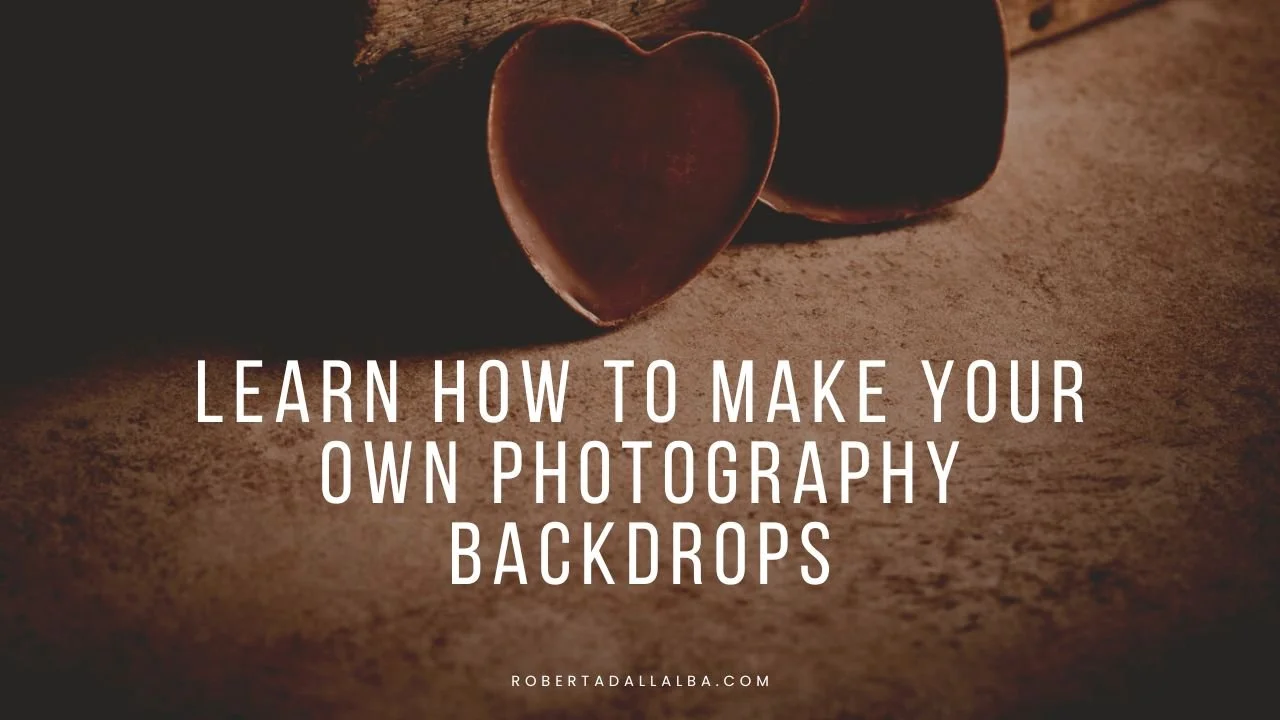
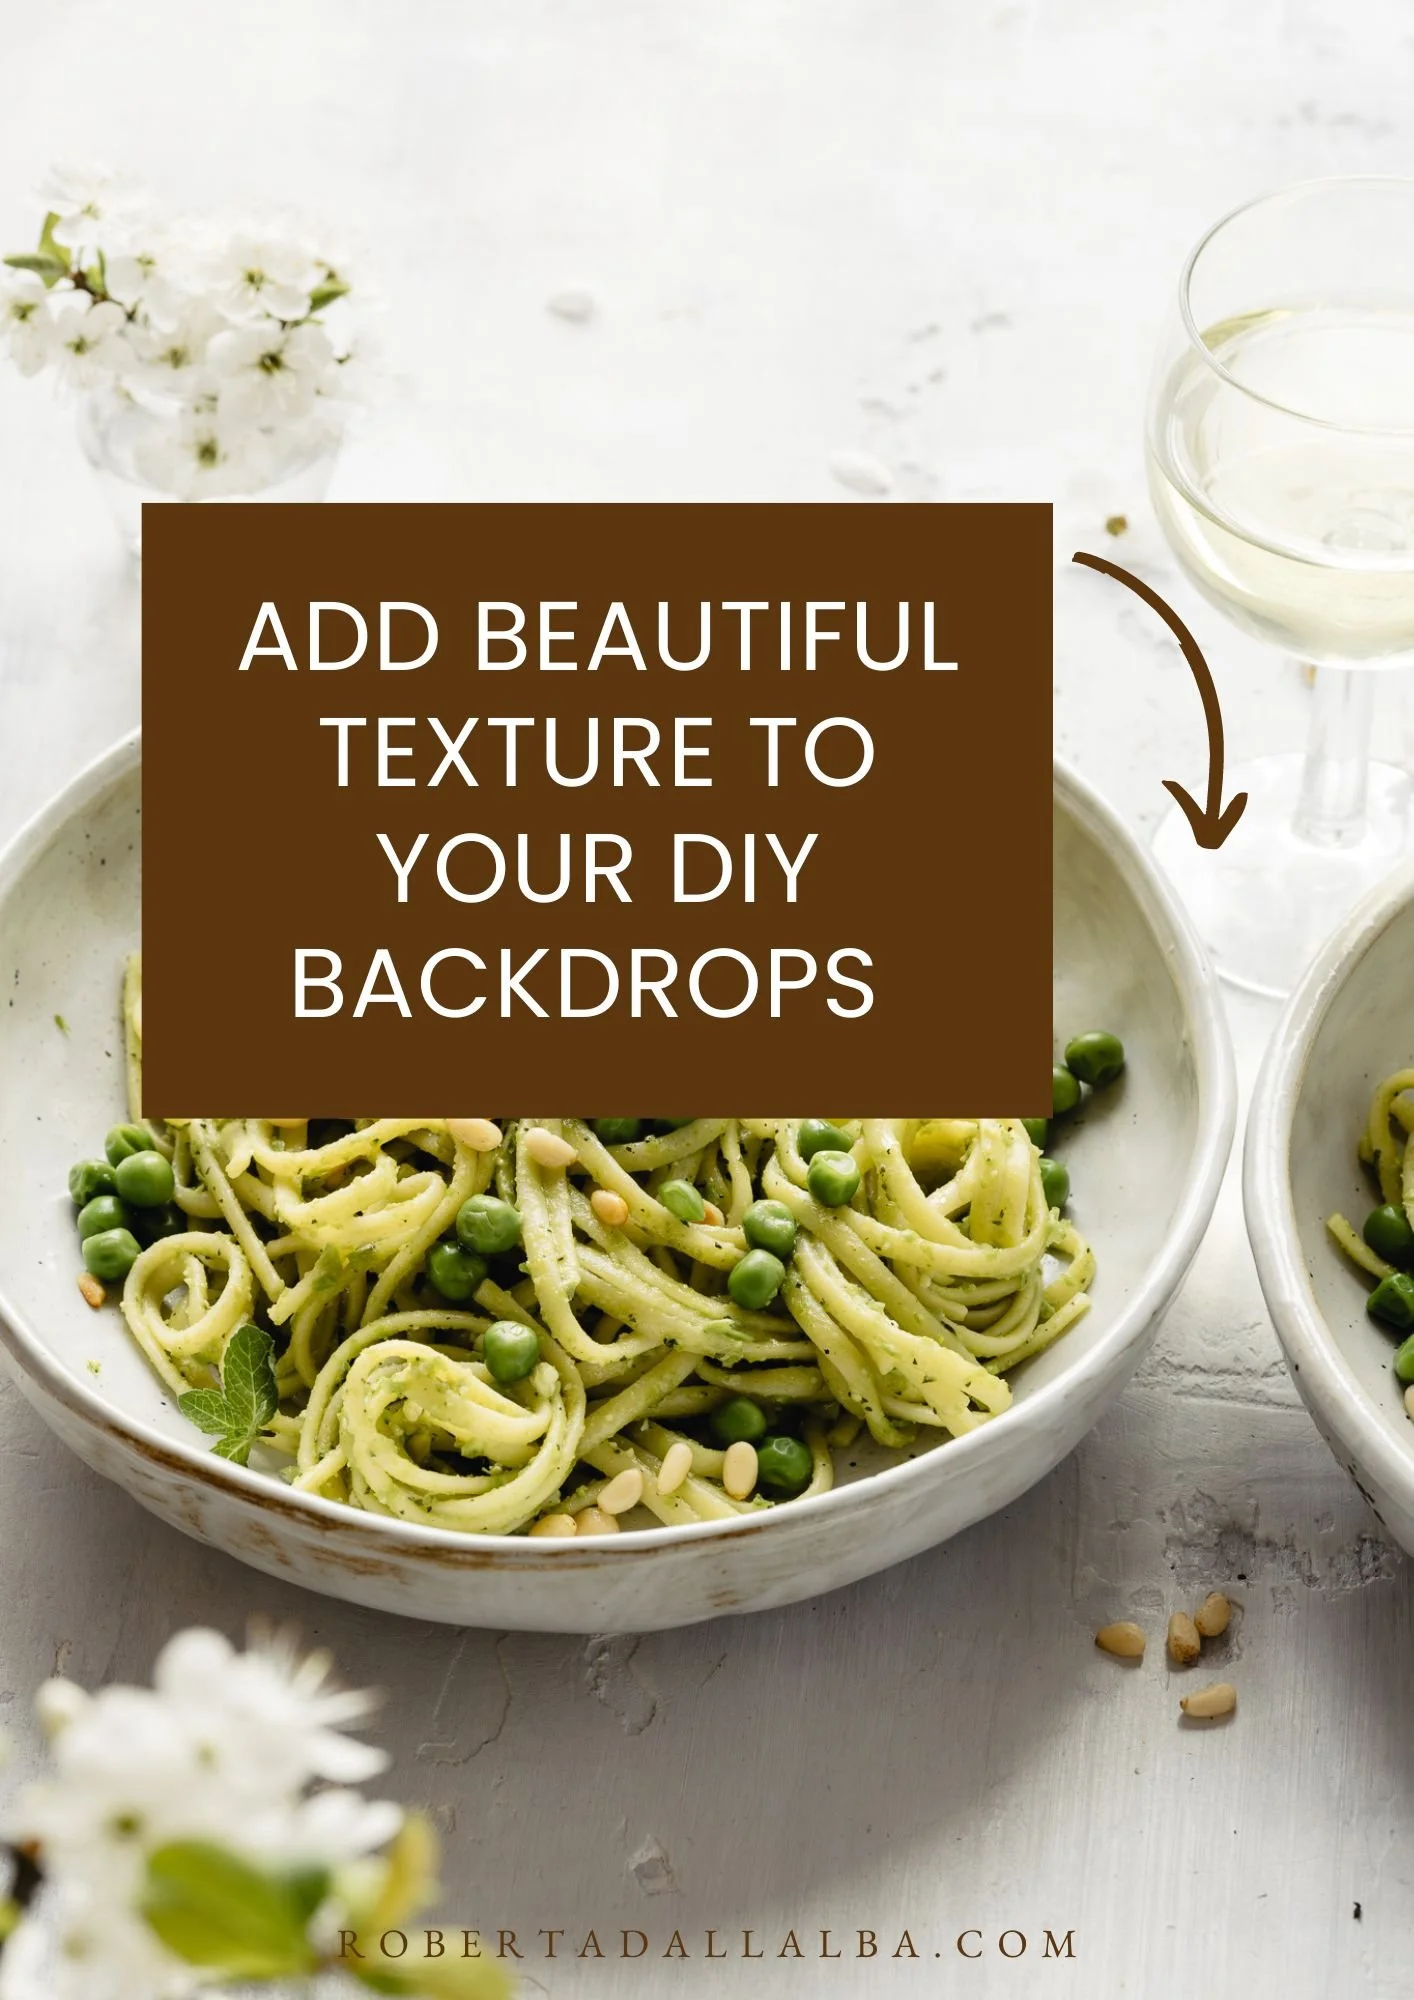
Affordable DIY Food Photography Backdrops
When I started doing food photography, I was amazed by all the beautiful surfaces other photographers had. So, back in 2017, I started making my own. Today I am going to explain how YOU can make your DIY food photography backdrops easily. It’s also affordable…and so much fun!
Did you know beautiful backdrops are KEY in food photography? They often help us telling a story and add that extra touch (contrast, texture…) to the image. Let’s do this!
P.S. if you’re looking to purchase them, at the end of the post you can find my favorite shops!
The Tools You’ll Need
Like I just said, making your own food photography backdrops is easy, affordable and SO MUCH FUN, and that's the main reason why I love it. If it were up to me - and I didn’t have another business to run - I would make backdrops all day long eheh
It's a creative activity after all, so you will have the chance to disconnect from other more demanding tasks and that's another reason why you should definitely try it.
Before starting, make sure you have everything you need at your fingertips, such as:
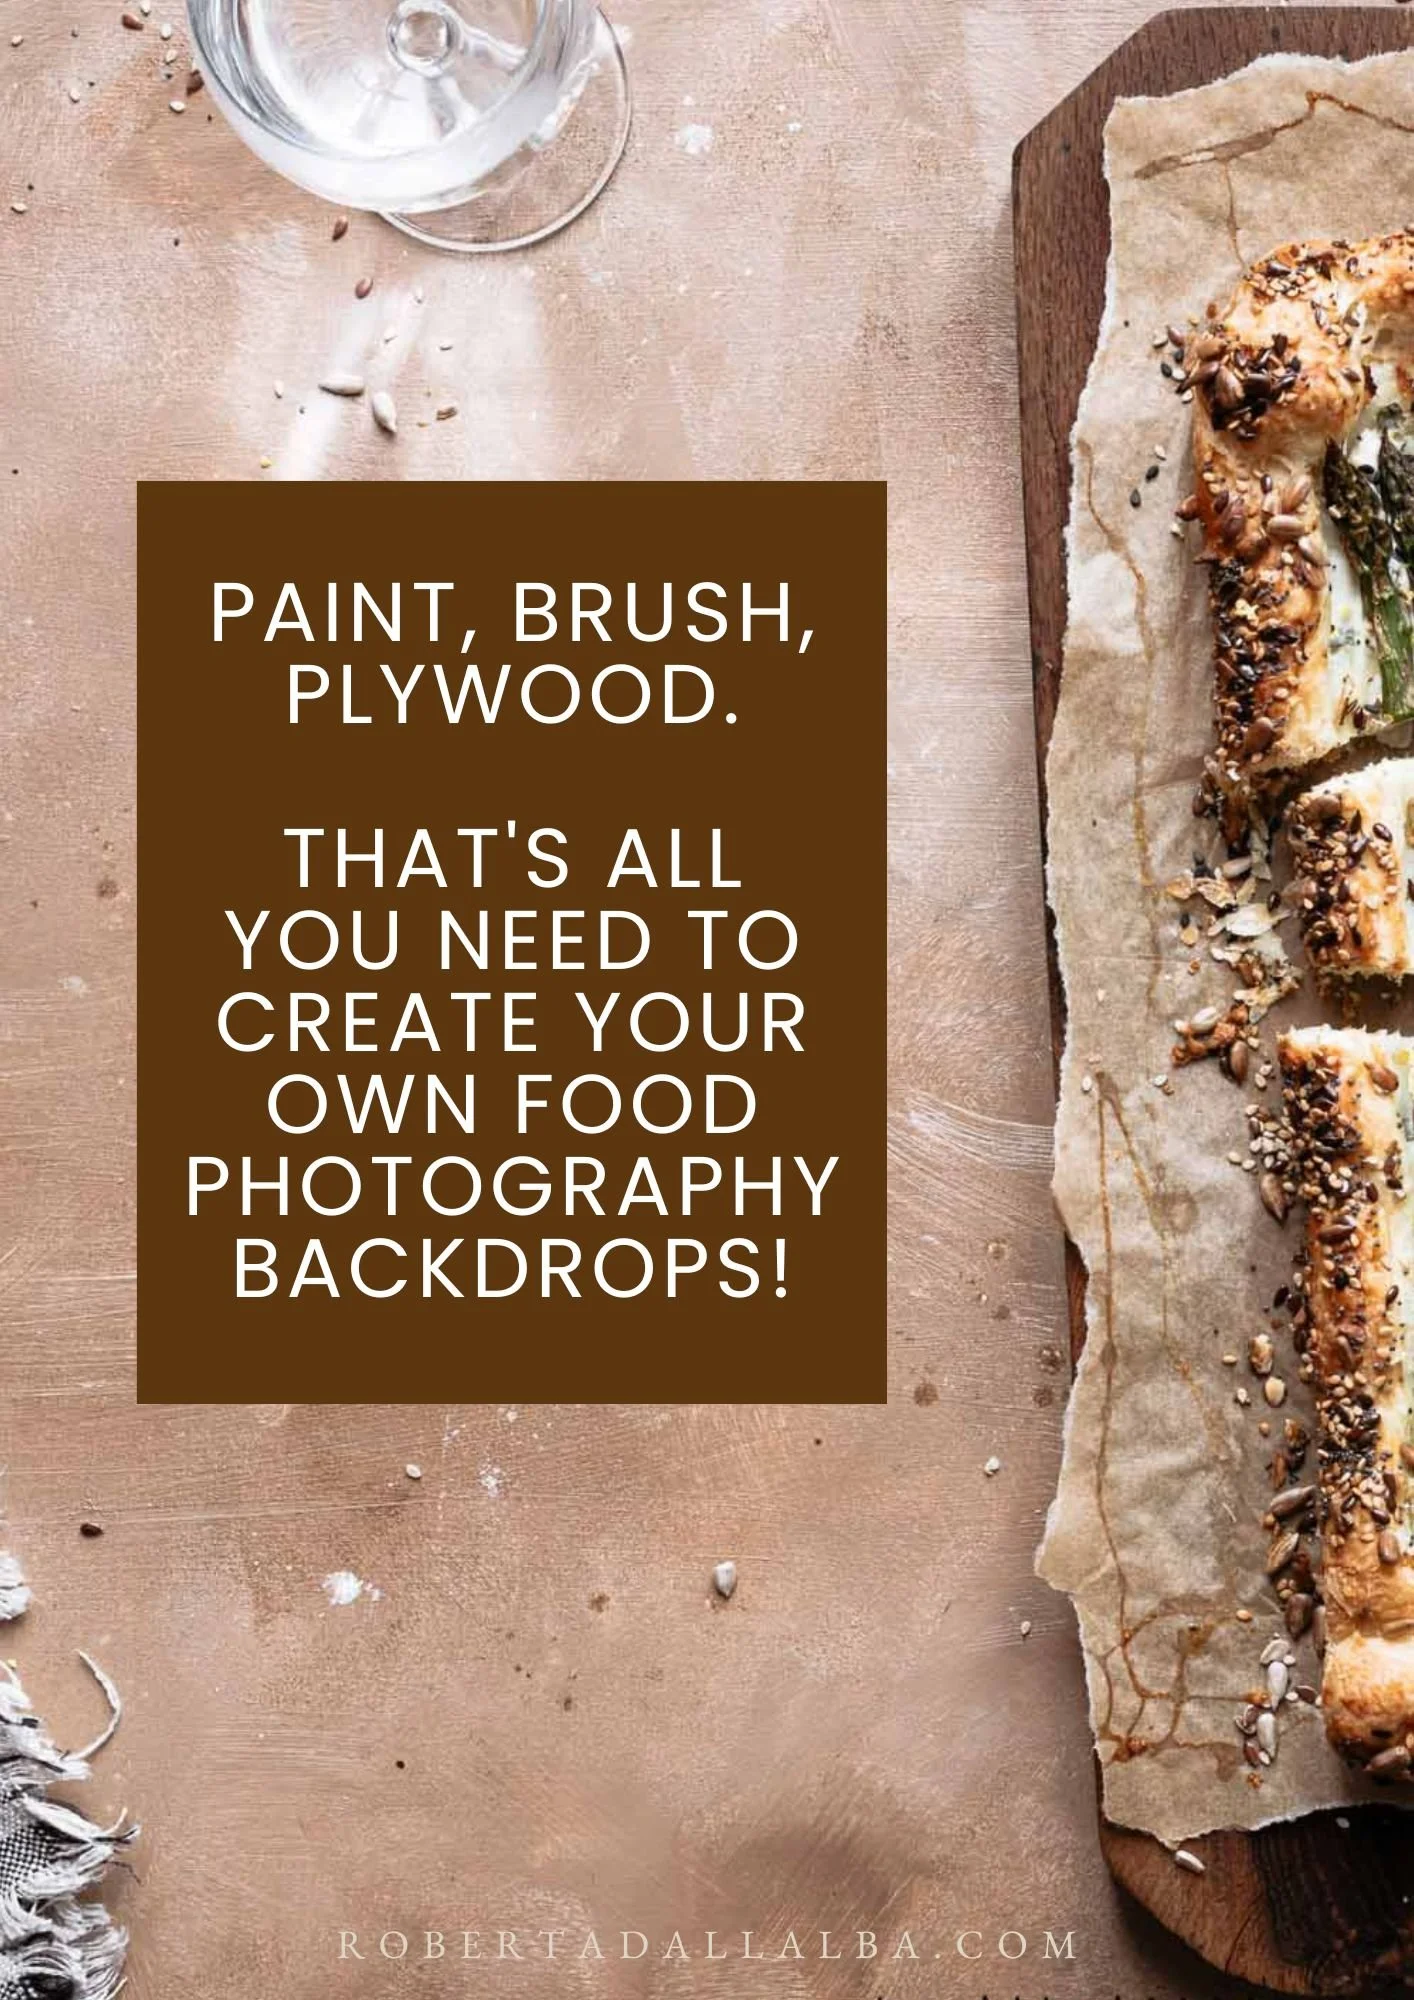
Wooden/MDF board: I had about four boards at my parents' house, and I actually don't know how many years they were (pretty sure they're old). If you have to buy them, don't worry, they are cheap. Just make sure they are resistant so they don't bend when they're wet. I usually recommend going with (at least) 60 x 90 cm.
Joint-compound + putty knife (optional): to give more texture and make it 3D;
Brush and/or sponge: I prefer the sponge, it gives a nice matte effect to the final backdrop;
Paints (different shades of the same color, black and white - always useful): I don't have any favorite brand here, just check on Amazon if you can find something interesting. Choose some matte colors (chalk paints), they're not expensive at all. I pay mine 2€ each approximately.
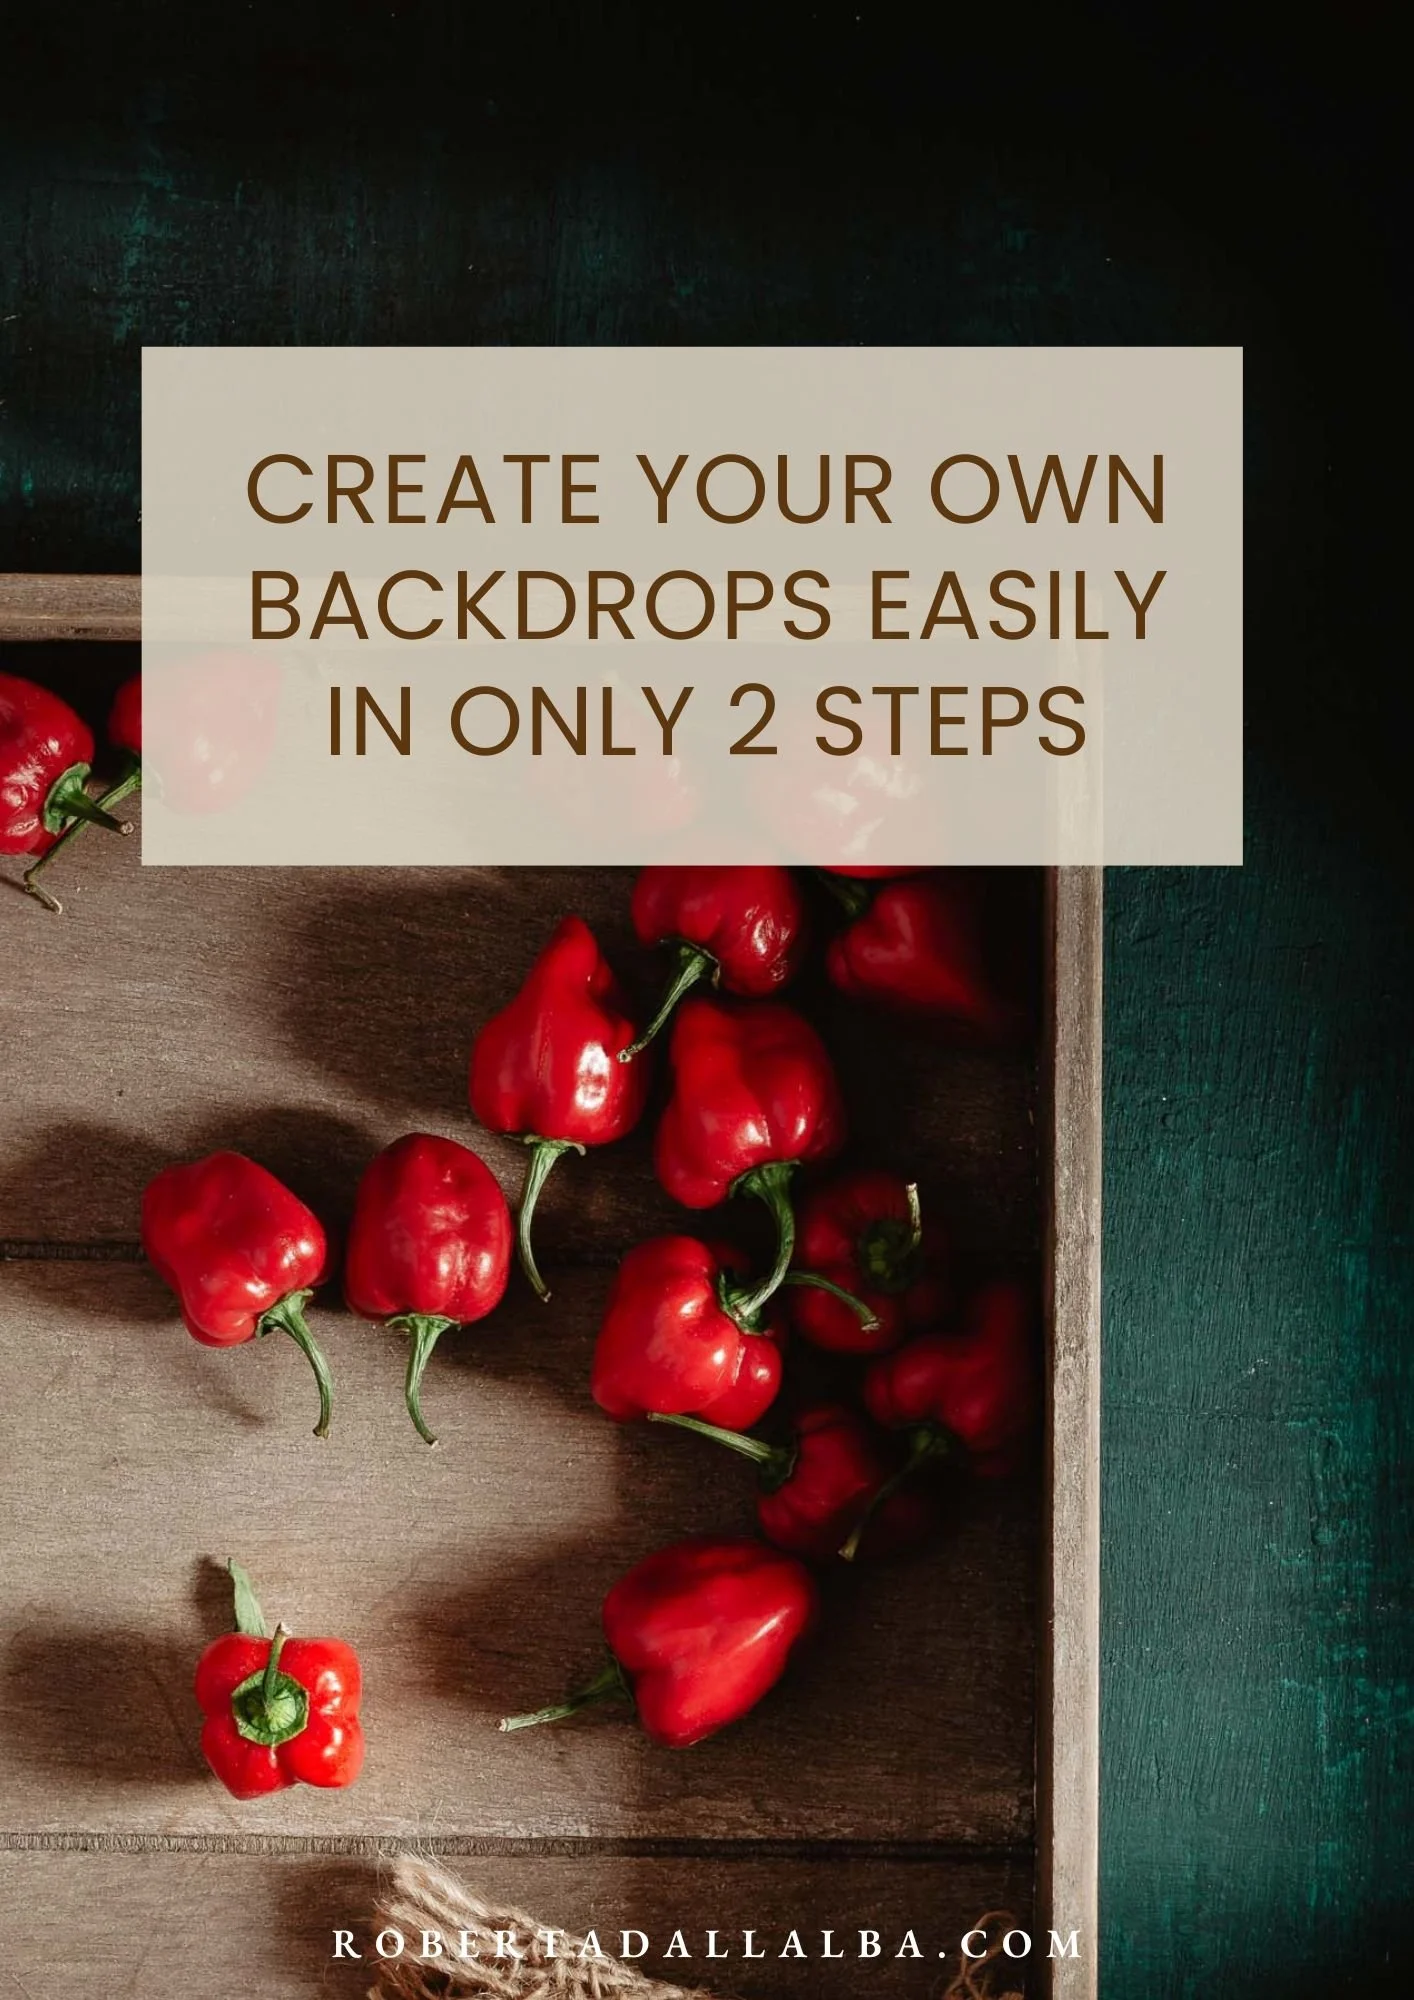
How Do You Make A Backdrop For Food Photography? The 2 Key Steps.
Do you have all the tools at hand? Alright then let's begin and have fun!
1. Coat the board with joint compound (optional)
If you want to add more texture to a backdrop, coat the plywood board with plaster. It will add an extra layer and make it even more “crunchy” looking in photos (does that make sense?;)).
Use a spatula/putty knife to roughly spread the plaster on the board, then let it dry completely.
2. Add Paint
Choose the final color you want to achieve: blue? grey? dark blue? light blue? light brown? ...) and gradually pour one or more shades on the board. Don't put a lot, you can add more color later. Start spreading using a sponge.
At the beginning, years ago, I used to use just a brush to spread it on my board. My advice? Use a sponge! It gives such a nice velvety effect!
First spread it and then gently dab it. Don't be too precise, and don't over-mix the colors otherwise the shades will disappear. Now let it dry. It’s done!
Which Color Should I Paint My Background Of?
When I started out I had no idea about color theory. Instead that’s another key thing in food photography. When painting your own backdrops you can choose to:
1. Stay neutral. Paint the surface with browns (dark or light) hues. If you ask me they’re perfect with every kind of food, if you’re looking for a more peaceful vibe.
2. Use a color. Be mindful when choosing WHICH color. Think about the food you usually shoot: is it already colorful? Then a neutral one may be better. And when painting, think about the saturation and the hue (I talk about this in my Delicious Brown Food Photography crash course, focused on browns but things apply to every color).
3. Go with white, grey, black. I love my “not colored” backdrops so much. I allow me to create a moodier photo (dark backdrop) or a brighter one, but especially really focus on the food itself.

To be transparent with you: the 4 photos above are not shot on DIY backdrops, but purchased ones. They’re used here as an example.
This Is The BEST Option Especially For Beginners
There are some other options on the market, like vinyl backdrops. Honestly? I LOOOVE them (find my favorite shops below): if they’re high-quality they’ll be made out of the best material and, when you take photos using them they don't pay you back horrible glares.
Unlike cheap vinyls, which are…well, cheaper looking: they have an awful fake texture, not to mention they're often blurry.
There are also lots of “solid” backdrops that I often use (and again, I LOVE THEM), but especially if you’re at the beginning it can get very expensive.
With these DIY photo backdrops you won’t have issues. Affordable, easy, funny, they don't take up a lot of space, they give your photos texture and interest… and YOU can let your creativity flow and make dozens of different backgrounds!
Will you try making them?
Where To Buy Backdrops
Even though I have been making my own food photography backdrops, I still love purchasing high quality ones. My favourite shops are: